Tuesday, March 19, 2013

One year old


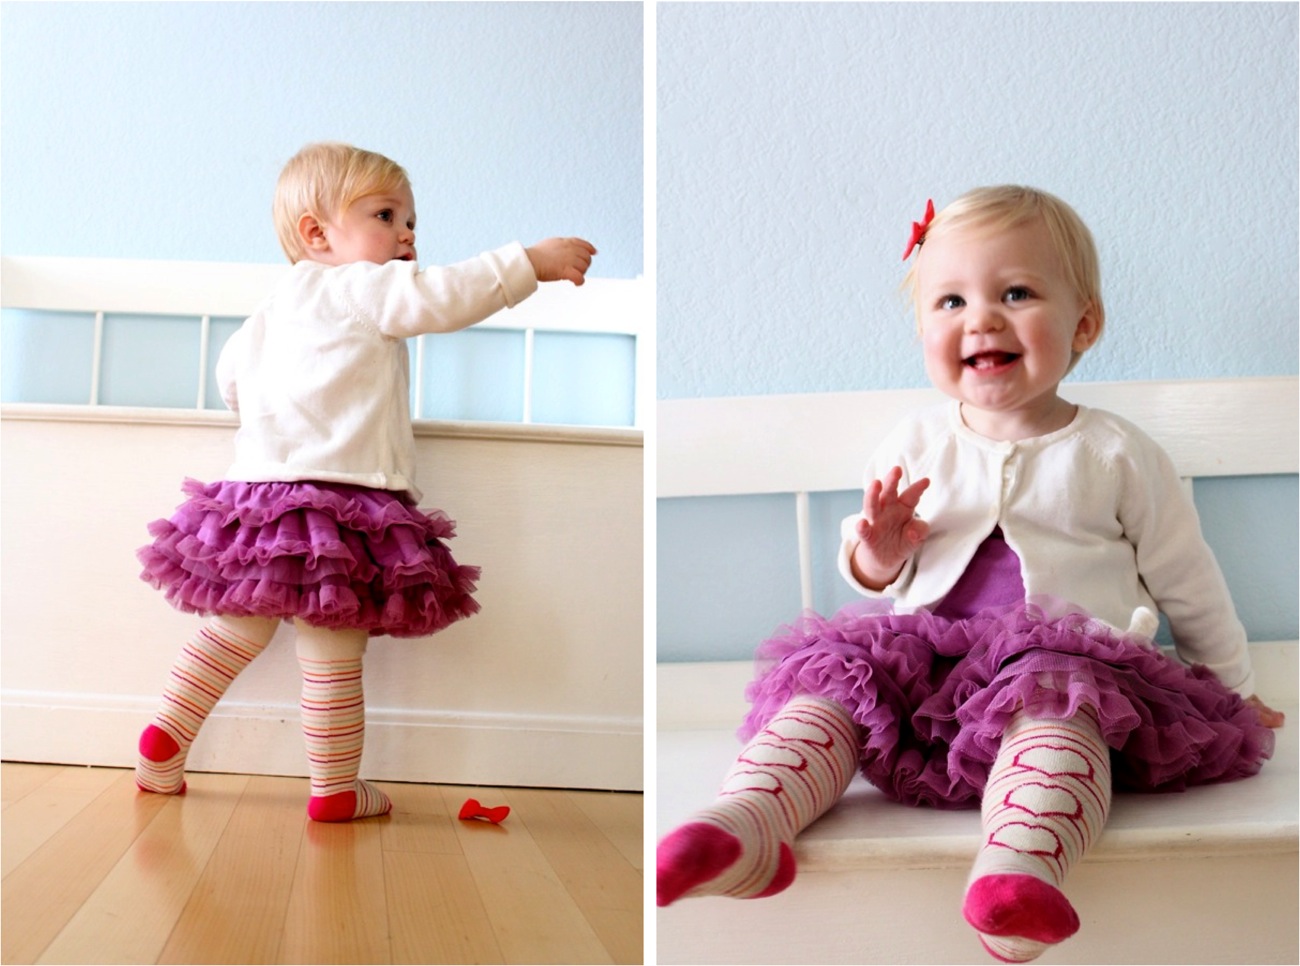
Well in the shuffle of CTB stuff, I forgot to mention that my little baby turned ONE YEAR OLD.  Clara is one!  And I just can't believe it's been an entire year since we drove off to the hospital and a little squishy ball of baby was born.  Life is happening and kids are growing. 
Each of my children have been "good babies".
Well, Owen required a bit more attention which is on par with his personality...he's just more extreme in every emotion, in every direction.  But that's what I love about him.
And third time around, we got our Clara doll. And she has really been a delightful cheerful little girl.  She smiles and smiles and tries to keep up with the big kids.  AND, she's started walking!  It's been bits of the Frankenstein stumble for the past month but just this week she's preferring to walk over crawli and it's so fun to watch her get around!
Most of all I love Clara's little/big personality. 
 She's a bit of a goofball like her brother and loves to giggle and play games.
 She's come a long way in a year.
Little slug:
Happy adventurer:
Always making cameos on my Instagram (follow me @danamadeit or via Twitter @danawillard)
Clara is a tenderheart for babies and animals and can't keep her hands off of them.  If there's a puppy in the park she needs to be in his face.  And while Lucy was never a baby doll kind of girl, Clara can't help picking one up and snuggling with it.  So for her birthday (on Feb 9th) we gave Clara her very own doll and she scooped that little thing up. 
Then we broke out the standard birthday cupcakes and let her go at it.
 Timid at first, then went animal style with all mouth, no hands.
Mmmm.  Cupcakes.
 Here's the 12 month comparison:
 Thank you Clara doll for being part of our family!

Sunday, March 10, 2013

TUTORIAL: Muscle Tees

One final project to wrap-up Celebrate the BOY.
It's a simple spin on the Basic TEE I shared 2 weeks ago and works great for Texas summers.
I told him it was a muscle Tee and he said, isn't it a tank top?
Fair point.  But doesn't muscle tee sound cooler?
Muscle Tee it is.  He thought it was fun to show off his (growing) muscles and actually surprised me by loving this outfit.  He asked if he could wear it the rest of the day.  You gotta it Mr. Muscles.
The sleeveless Tee is just as easy to make as the Basic Tee.  Start by reading the Basic Tee tutorial and download the free size 4T Pattern .

And now it's time for that mysterious dotted line.  Ooooo.   Cut along the dotted lines of the Front and Back pattern pieces and you have Muscle Tee pattern pieces ready to go!
NOTE:  Make sure your write "Muscle Tee" on the new pattern so you aren't confused the next time you go to make a Basic Tee and pick up the wrong pattern. 

• With your new pattern pieces, cut a Front and Back from the fabric (as outlined in the Basic Tee)
• Cut ribbing for the neck and armholes, and iron each strip in half (read more about ribbing in the Basic Tee)
Cut 1 Neck piece: 11.5 x 1.75 inches
Cut 2 Armhole pieces: 12 x 1.5 inches
 • Sew the neck ribbing as shown in the Basic Tee.   Then, rather than adding sleeves we're going to add armhole ribbing.
• With right sides of the folded ribbing and t-shirt armhole together, stretch and pin the ribbing to the armhole.  First find the center point of the ribbing and pin that to the center of the armhole. Then pin the ends of the ribbing to the ends of the armhole.  Then continue stretching, pinning, and evenly spacing the ribbing along the armhole.
• Sew the ribbing in place using a straight stitch and a 1/4 inch seam allowance.  Iron out your seams.
• To add a pocket, cut a small square (or any shape), iron the edges under (sewing the top of the pocket down first as shown in this tutorial), position it on the Tee, pin it in place, and sew it down with a 1/8 inch seam allowance.
• With right sides of the Tee together, pin and sew the sides of the Tee together.
• To keep the armholes snug and from gaping out, do not follow the line of the arm ribbing as it flares out slightly when you sew.  Just sew a straight side seam with a 3/8 inches, starting at the top of the ribbing and going straight down (see left photo below)
• When you're finished with your Tee, the side seams at the armholes will be poking into the armhole slightly, which might be uncomfortable to wear. So, sew the side seams down on the ribbing about 1 inch. 
 And you're done!
Owen thought Muscle shirts gave him Jedi powers.
 Is he ready to punch me?  Or flex me?
He's probably just happy this is the last photoshoot he has to do for a while.
Yay for boys!
Now head over to Made by Rae to see what she's sharing.
-------------------------------------------------------------------------

This is part of Celebrate the BOY, a series hosted by me and Made by Rae.
 
Here’s what we’ve done so far:
DAY 1: Dana: 5 Steps to the Basic Tee • Rae: Saffron Pants and Color Roundup
DAY 2: Dana: Pants Roundup • Rae: Little Bit of Color Hoodie
DAY 3: Dana: KID Pants with Back Pockets • Rae: Little Bit of Color Hoodie
DAY 4: Dana: 13 DIY Fabrics • Rae: Show your Stripes Turtleneck
DAY 5: Dana: Favorite T-shirt Buddies • Rae: Stripes Rule Roundup and Celebration Garland
DAY 6: Dana: Big Stick Pjs • Rae: Fox Tee
DAY 7: Dana: Beach Robe to Cozy House RobeYES to Bold Prints and Tuxedo Stripe Pants
DAY 8: Dana: We be Jammin roundup • Rae: City Pants
DAY 9: Dana: Stripes, Checks, and Piping, oh my • Rae: Mustache roundup and Tic Tac Toe Shirt + Piping how-to
DAY 10: Dana: Chewie Shirt • Rae: Piping improves everything

• Keep adding your own BOY projects to the CTB Flickr Group!
• And check out the Archives for additional projects

Friday, March 8, 2013

some like it Chewie, some like it Hoth


Well, the Star Wars love isn't going away any time soon.  In fact the Force is only getting stronger.   Owen pulls out his Jedi robe daily (because one must look like a Jedi to jump and feel like a Jedi on the trampoline). 
So I've had a series of Star Wars shirts in-mind to share for Celebrate the BOY.  And I started with Chewbacca, beloved Wookie and best side-kick ever?  Totally!

For a little inspiration I Google imaged "Chewbacca art" and many cool images popped up:
Then I peeked at a project I pinned a year ago by Draw Pilgrim...a sweet Chewie softie toy (free pattern download).  Isn't he delightful?!  And THEN I was overjoyed when I looked in the CTB Flickr group last night....and Laura from Behind the Hedgegrow had made her own version! with super furry cool fabric.
Wookie is in the air.
So I channeled the love and came up with my own version.  The Chewie Shirt:
And I totally love it!  It's weird, soft, and the best part is....Owen really, really loves it too.  Kid endorsement is the best compliment.

I originally wanted to use crazy fur like Laura did above.  But I worried that on a shirt, it might not wear or wash well so I went with a super soft terry-cloth minky from Joann Fabrics....the same type of fabric used for Owen's House Robe the other day:
 Then I grabbed felt scraps and got busy:
You're basically sewing the Chewie head like a softie toy but without the stuffing.  I used simple cotton fabric for the back of the head so he wouldn't be too poofy on the shirt.  And if you were making it with knit fabric you could leave the edges raw without a backing.  But this fabric frays like crazy, so I needed to seal all the edges of his head.  So....
Be careful as you sew that you're ONLY sewing Chewie to the front of the shirt!  Just work slowly and pull the back of the shirt away as you go. And you're done!
The shirt timing was perfect for pajama day at school on Thursday, since he of course wanted to wear his Star Wars pjs (rather than the Big Stick jammies).
So we threw on the Chewbacca shirt, Star Wars Jammie pants, I couldn't resist this favorite pair of Star Wars undies,
and when he put on his backpack I just started laughing.  It honestly never dawned on me that the jammies and backpack were the same fabric!...which is funny since the fabric is from Joanns and the backpack is Old Navy.

Just like that he was totally geeked out.
With, yes, his lightsaber in his backpack for a playdate after school.
Have a great weekend!  Come back on Monday for one more Celebrate the BOY prjoect. 
And go see what Rae's up to today...
 ---------------------------------------------------------------------

This is part of Celebrate the BOY, a series hosted by me and Made by Rae.
Here’s what we’ve done so far:
DAY 1: Dana: 5 Steps to the Basic Tee • Rae: Saffron Pants and Color Roundup
DAY 2: Dana: Pants Roundup • Rae: Little Bit of Color Hoodie
DAY 3: Dana: KID Pants with Back Pockets • Rae: Little Bit of Color Hoodie
DAY 4: Dana: 13 DIY Fabrics • Rae: Show your Stripes Turtleneck
DAY 5: Dana: Favorite T-shirt Buddies • Rae: Stripes Rule Roundup and Celebration Garland
DAY 6: Dana: Big Stick Pjs • Rae: Fox Tee
DAY 7: Dana: Beach Robe to Cozy House RobeYES to Bold Prints and Tuxedo Stripe Pants
DAY 8: Dana: We be Jammin roundup • Rae: City Pants
DAY 9: Dana: Stripes, Checks, and Piping, oh my • Rae: Mustache roundup and Tic Tac Toe Shirt + Piping how-to

• Keep adding your own BOY projects to the CTB Flickr Group!
• And check out the Archives for additional projects

Thursday, March 7, 2013

Stripes, Checks, and Piping, oh my

I can't get away from the super-size gingham checks!
Now and 2 years ago:
They may just become part of his annual wardrobe.
Who can complain?!  Well, he might.  Some day.
But for now we're living it up!
And this time I around I used the gingham for shorts.
I started with all the same tutorials:


Then like the Plaid Shorts from last week, I added a lining to the fabric (since it's super lightweight) and I added Back Pockets (click over for the tutorial).  But I gave them one more twist....Piping:
If you've never used piping it's so fun!  It can add just the right pop of color or detail to make your project that much more interesting.  It's sort of the sister to Bias Tape and made using similar methods.  And though I plan to do a full-blown "Everything you need to know about Piping" tutorial down the road.....we'll save that for another day.
Today I'll share snippets.  AND...you're totally in luck, because Rae's also sharing a piping project...and she does have a great how-to for sewing piping.  Woohoo!  So pop back and forth between our two blogs.

Basically, I cut out my pocket and a lining pocket.  I basted the piping to my pocket first (and since I don't have a piping foot, I used my zipper foot and it worked fine), then laid the lining fabric over that, sewed the sandwich together, turned it right side out, folded the top under, finished it off,
And.....
Then I did the same for my front pockets.  And soon I had 4 pockets ready to arrange and sew in-place.
One pair of Gingham shorts!
I do wish I'd done two things differently:
• Would have been fun to use orange or green  piping but I was in a rush and only had white on-hand.
• I sorta regret doing pockets on the front and wish I'd left them plain/flat front like these (since there's so much going on)
But I'm not complaining.  It's a half-yard of fun and he'll use them all spring and summer long.
To top it off, I paid homage to the 90 minute Shirt! making one from this stripey Tee found at Target.  Is he too old for it?  It almost looks like a gun holster around his shoulders. 
I put it together with black tennies and a cardigan from H&M (which would be super easy to make using ideas from this tutorial and this) and he's got a full outfit!
I love semi-homemade ensembles.
And Owen loves a treat at the end of a photo shoot. He's a good sport.

Do your kids do this?  It makes me laugh every time.
"Look Mom!  My lollipop is a superhero!"
 Now check out the piping fun over at Mae by Rae!
------------------------------------------------------------------------------------

This is part of Celebrate the BOY, a series hosted by me and Made by Rae.
Here’s what we’ve done so far:
DAY 1: Dana: 5 Steps to the Basic Tee • Rae: Saffron Pants and Color Roundup
DAY 2: Dana: Pants Roundup • Rae: Little Bit of Color Hoodie
DAY 3: Dana: KID Pants with Back Pockets • Rae: Little Bit of Color Hoodie
DAY 4: Dana: 13 DIY Fabrics • Rae: Show your Stripes Turtleneck
DAY 5: Dana: Favorite T-shirt Buddies • Rae: Stripes Rule Roundup and Celebration Garland
DAY 6: Dana: Big Stick Pjs • Rae: Fox Tee
DAY 7: Dana: Beach Robe to Cozy House RobeYES to Bold Prints and Tuxedo Stripe Pants
DAY 8: Dana: We be Jammin roundup • Rae: City Pants
DAY 9: Dana: Stripes, Checks, and Piping, oh my • Rae: Mustache roundup and Tic Tac Toe Shirt + Piping how-to

• Keep adding your own BOY projects to the CTB Flickr Group!
• And check out the Archives for additional projects