Okay.
Now that we've sewn some
simple oilcloth projects...let's tackle a complicated one...like recovering a chair or barstool. In fact, my chair-covering project is what spawned the idea for our
Don't Fear the Fabric series. I knew I wanted to share the finished chairs with you. But rather than just sharing one post, it seemed better to do a series of posts and projects....so you can ease your way into a new textile.
Right?
Right.
So about 5 years ago I made
these oilcloth covers for my chairs/barstools.
And they were fantastic and held up great for 4 years! (till they got a small tear and baby Clara started tugging at it)
So it was time to make new covers.
And I knew I wanted to use oilcloth again because the fabric is waterproof! and can be wiped clean.....which is priceless with little kids in the house. And I love having a comfy stool to sit on when I'm sitting at the bar.....which makes oilcloth the perfect fabric choice.
So.
When we moved to our
new house in February I bought more stools.
And
I asked for your input on my fabric selection, so I could make covers for all 6 chairs:
I couldn't believe your responses!
Some of you felt very strongly in one direction or another.
I was actually nervous that if I went with sunflowers, some of you might never read my blog again!
YIKES.
So what did I do with all that input??
Well, this....
I laid out some orange fabric and the kids climbed all over it.
Cause when one comes, they all come.
And it gets a little crowded for Clara
But the real answer is Yes! Orange!
I went with the same
orange toile that I had used before.
I know. It sounds boring. But there was a (reasonable) thought-process I went through.....to get right back where I started from.
And after a few weeks of sewing (on and off), I had a pile of pretty covers which turned into a row of pretty chairs!
No
sunflowers.
No
corn flowers (though I still think the yellow corn flower would be cute)
Instead we've got a whole lot of orange, to contrast with the turquoise backsplash.
Now I'll admit, even after sewing all these covers (which took longer
than I thought they would...even with my assembly line sewing skillz) I'm still not 100% sure they're the final
answer. So I might surprise you one day with another set of chair
covers.
But it's only fair to show you how it relates to the rest of the house, since we have a very open floorplan from the living room, to kitchen, to dining room. I think the orange fabric really ties into other orange accents in the house.
And the color makes me happy.
If it's too much orange for you, I totally get it. It's not for everyone.
But here's why I went with the orange toile.
I loved the fabric once, so I knew I would love it again.
AND, when I considered stripes or the plaid cornflower fabric, I realized how hard it would be to get all those lines matched up from
chair to chair. It could look messy from afar.
Plus, the orange
fabric would hide more mistakes and inconsistencies....which is helpful
when you're working on an oilcloth project with lots of curves.
So if you want to use oilcloth for your own chairs or stools...let me share some sewing tips!
If you've never used Oilcloth fabric before, I recommend reading through my previous post first:
How to Sew with Oilcloth.
Something interesting I want to point out in this post is that oilcloth does have a shelf life.
I hadn't realized until I sat down to make my new seat covers.....but the old fabric had faded significantly.
Check this out:
Now I don't point this out as a negative, but just something to be aware of. I actually really love the tangerine color it faded into.
And seeing as I got a good 4-5 years out of those old covers, I was definitely willing to do it all again.
Okay.
So first, figure out how you're going to do it. What are you recovering? And how was it covered before? There's no point in totally reinventing the wheel here. So try to mimic how the manufacturer made the chair or stool. Deconstructing is the best way to learn new tricks and understand how patterns are put together.
If you're working on barstools without a back, or a set of folding chairs, or you want to recover the top of a card table, you might be able to recover them without even sewing....maybe just a glue gun or some staples? See what your furniture has to offer.
If you're able to take apart a chair cover to use as a pattern, do it. Or, maybe try to trace a new pattern by holding paper up to your chair and drawing around the different parts, and then adding a 1/2 inch seam allowance all the way around
My chairs are from IKEA, so I had the luxury of purchasing a fabric slipcover, which I took apart with a seam ripper and used as my pattern.
To keep myself organized, I gave each piece a name and marked the "grainline". Now there isn't really a grainline to oilcloth since it's not a woven fabric. But it's important to note a grainline direction so that the print of your fabric is going in the same direction each time. You don't want to end up with one upside-down chair cover in the mix.
I also kept a small notepad next to me as I sewed, jotting down the steps I was doing so it was easy to remember when I started sewing the next one.
Now as I've
mentioned before, oilcloth is a stiff fabric to work with. Try not to let that frustrate you. You just need to use more arm power and work with the fabric, rather than against it. And the great thing is...the edges don't fray so you don't have to worry about finishing things off where you don't want to.
Tip #1 - When you're going around curves, go slowly. Pause periodically with your needle down in your fabric, lift your presser foot, and pivot your fabric to allow it to relax.
And what really works best around the curves is to clip the fabric before you sew it in place. Just clip slightly into the seam allowance about 1/4 of an inch on the curved areas. This will help it to ease and lay more flat as you sew.
Tip #2 - Try your project on in sections before you cut and sew all 6 covers! It's like creating a "muslin" for your chair.
Tip # 3 - Don't sweat the details.
If you look closely at my chairs, you'll see that they're far from perfect. The curves are not all curved, the lines are not all straight. But they still look great! So just do the best you can and don't worry if your seam is a little off.
Just have fun and enjoy the new look!
Thanks for your input!
--------------------------------------------------------------------
And now head over to
See Kate Sew where she's got an amazing pleather skirt project with a FREE pattern and tutorial Yay!
Don't Fear the Fabric is an ongoing series on MADE and
See Kate Sew.
We want to arm you with the info and confidence to try to fabrics and see where they take you!
Check out our other posts from this series:
How to Sew with Oilcloth ••
How to Sew with Leather
Geo Garland
Simple Handmade Gift: Oilcloth Coasters ••
Smashed fabric and Leather Pouches
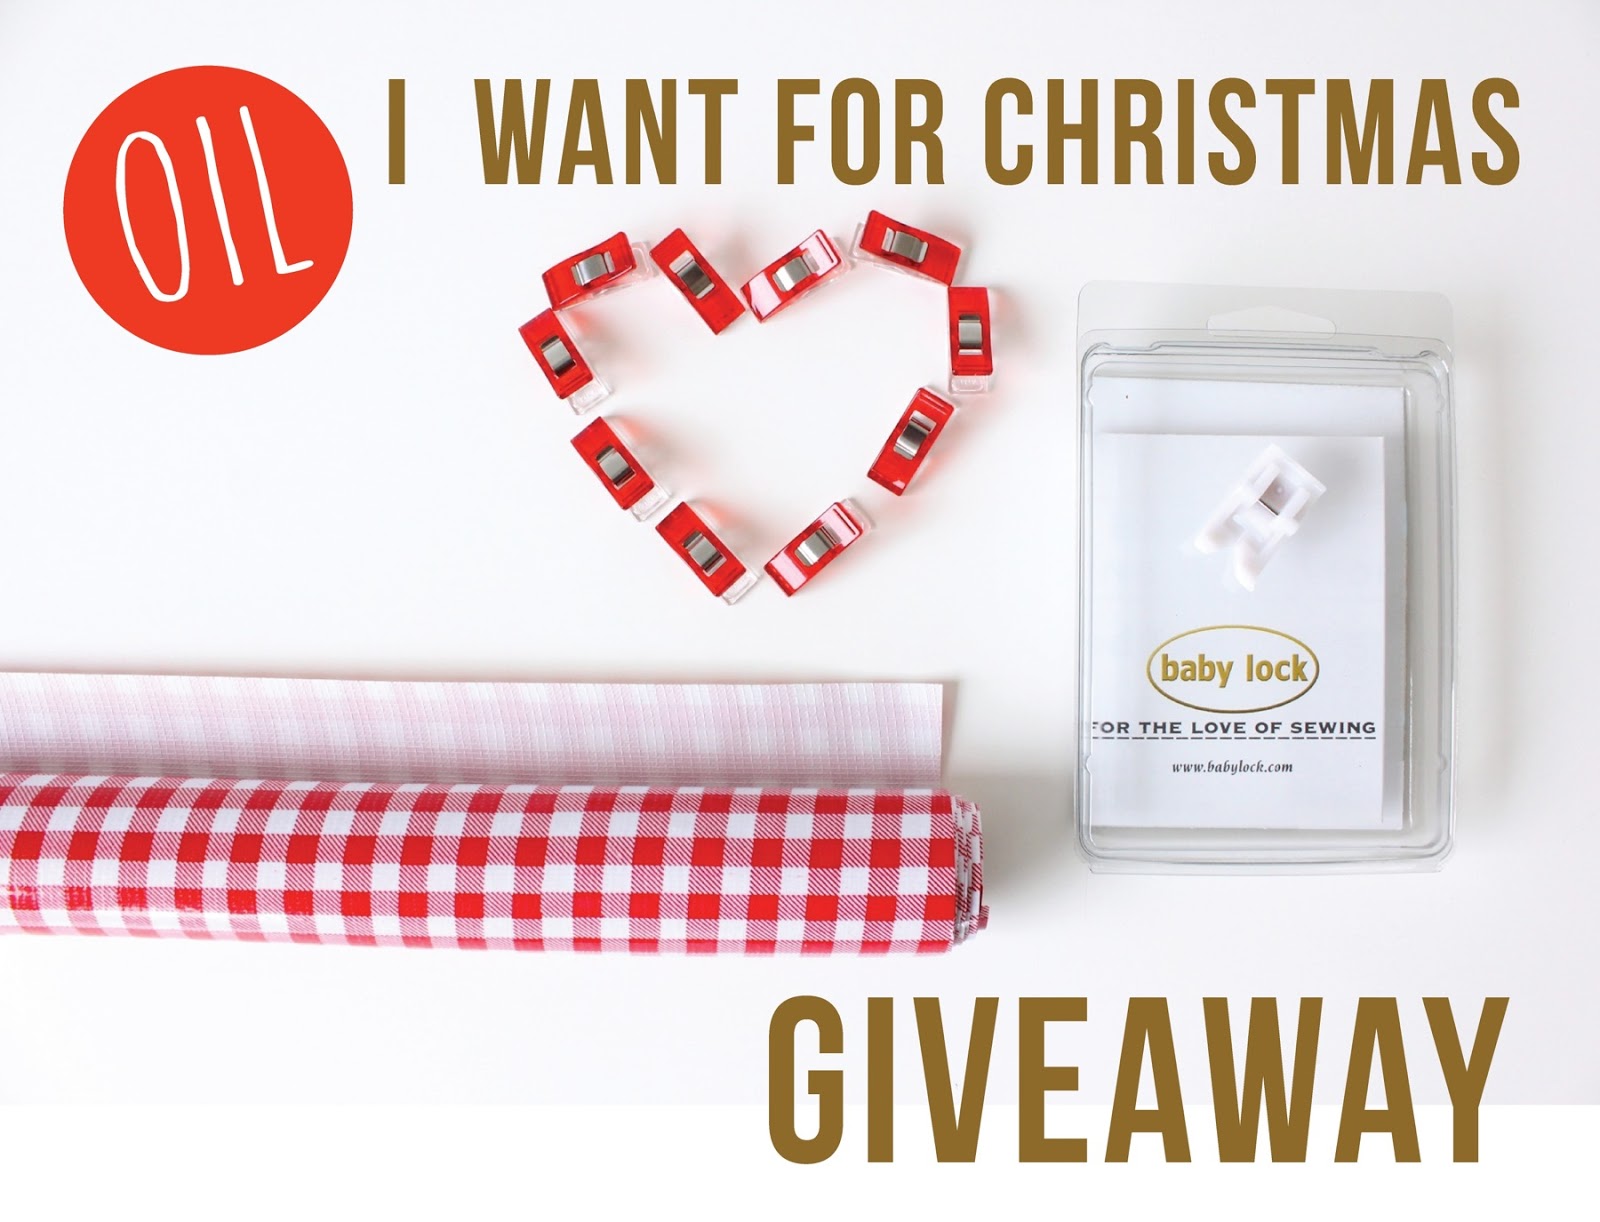
Oilcloth Starter Kits Giveaway ••
Win a free Leather Hide
Oilcloth Chairs and tips for recovering your own ••
Pleather Circle Skirt tutorial


