Tuesday, July 31, 2012

TUTORIAL: Reversible, Lined, Color-blocked TOTE

I've got a new summer bag that I totally love.
It's nice and heavy-weight, the perfect size for all my stuff, annnnd......
It's reversible!
Yay!
It's good to have options.

Here are the TOTE bag versions we've tried so far....

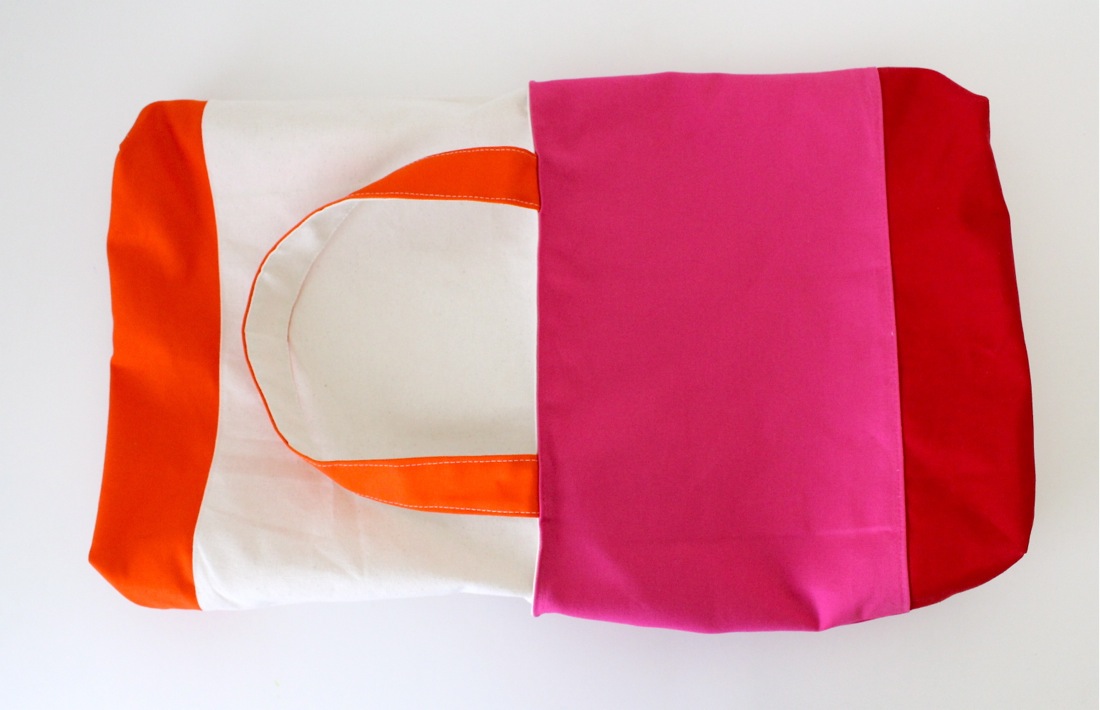
This time around we'll make it:
• reversible (similar to having a lining)
• color-blocked on the outside with heavy Duck Cloth (read more about duck cloth and other fabrics in my book)
• DIY handles
Summer, Summer, Summer time.
Let's get started.
If you've never made a bag before, read through the Basic Pocket Tote Tutorial first.

Start by cutting all your bag pieces. We're using Duck Cloth which is like a heavy canvas. It's very durable and typically comes in solid colors (though I've seen some fun prints at Hobby Lobby). Of course you can use other cotton fabrics as well.
The reversible bag is basically two separate bags, sewn together at the top. If you don't care about the reversible option, use a more lightweight fabric (maybe a cute print) for one of the bags and it will simply be a lining.

Decide what size you'd like for your bag.
Here are the dimensions I went with:
Cut 4 of each (2 per bag; different colors for each bag):
12 x 18 inches (bag front and back)
6 x 18 inches (bottom for bag front and back)
2.5 x 25 inches (handles)
Start by sewing the handles.
There are two ways to do this....
If you're using lightweight fabrics, place right sides of the fabric together and sew down each side. Then use a safety pin or bodkin to pull the long tube-like handle right-side out. Iron out the wrinkled handle.

However, with heavy duck cloth it's very difficult to pull the fabric right-side out.
So.....
• Sew down one side with a 1/4 inch seam allowance.
• Iron out the seam
• Iron the raw edges of each handle side under 1/2 inch
• Fold the handle together and sew a top stitch down each side, about 1/8 inches from the edge.

Now piece together the back fronts and backs....
• With right sides of the fabric together, place the smaller rectangle on the larger rectangle and sew them together with a 1/4 inch seam allowance.
• Iron out the seam
• Top stitch over the seam for added strength and to help it lay flat.

Now your bag pieces are ready to assemble.
With right sides of the fabric together, sew each bag together (separately, like you're making two bags. For more info see the Basic Tote tutorial).
Then Box out the bottom of each bag, about 2 1/2 inches in on each side.
See detailed info in THIS tutorial.
And you're left with two cool looking bags.
You could leave them separate, throw on the handles, and give them away as gifts.
But attaching them together does makes your bag more polished, professional looking, and heavy duty.
Turn one of the bags inside out and place it inside of the other bag:
• Determine where the handles should go (mine are about 3 inches in from the sides). Then tuck the ends of each handle in-between the two bag layers, with about 2 inches of handle dangling inside. You may need to remove a few of the pins from above to do this.
• Sew a topstitch all the way around, about 1/4 inch from the top of the bag. Sew another parallel line next to it, 1/8 inch over for stronger hold.
And you're done!
Now give your tote a whirl.
I'm sure it loves the lake as much as the next girl.

Thursday, July 26, 2012

RECIPE: ice cream cookie sandwiches

If you've ever lived in LA or visited UCLA, then you know of the mind-blowing Diddy Riese cookie shop....where they sell cookie ice cream sandwiches for only one dollar (or is it $1.75 now?)
Either way, they must be selling drugs out the back of the store cause who makes money off of $1 treats??? And in LA?!

Actually, I guess the line is always 40 people long, all night long.
Because they are that yummy.
And ever since I had one (and also a pizookie from BJs across the street) they are now my favorite way to eat cookies and ice cream.
They're also my favorite treat to take along to a friend's house or a picnic at the park.
They start with that yummy Classic Chocolate Chip cookie recipe:
Keep the cookie size small and smash them down a bit so they bake flatter than normal.
Place the finished cookies in the freezer for a bit so they're firm.
Then start assembling with your favorite flavors (mint 'n chip is ideal).
Let the ice cream sit out for a few minutes so it's soft enough to scoop, but not melty.
No rocket science here...
Place a small scoop of ice cream on one cookie, place another cookie on top, and gently press down. Keep the ice cream scoop small or it will be hard to bite through the sandwich. Return the finished sandwiches to the freezer for an hour or more till ready to serve.
Mmmm.
Now I just need to try dipping the finished cookie in chocolate (like an It's It)
If the final destination is your own home, then start chowing.
If you're taking them along to a party....
Place each individual sandwich in a square of wax paper and fold it up. Then carry them in a small ice chest with a good ice pack. I've taken these to an outdoor bbq multiple times and they stay pretty firm in the ice chest.

When the time comes, devour and savor.
and remember to....

more and more circle skirts

With lots of friends having babies, I went crazy and made more of these:
(not babies, just skirts)
I love making baby circle skirts! They're so fast---free pattern download here---a bit addictive, and easy to pair with a onesie.
This time I made a double-layered version (also easy) and it was even more bouncy and girly.
Clara approved.
Some of you have asked about a double-layered circle skirt, so here's what you do.
Start with the basic baby circle skirt tutorial and pattern:
Print off the skirt pattern above, or make your own. Then cut two skirts, cutting the underneath layer about 1 inch longer than the top layer. Just eyeball it, no need to make another precise pattern. If you want the under-layer to hang out extra long, cut it 1 1/2 inches longer....just do what works for you.
• Hem each layer separately.
• Join the two layers together at the top and baste (sew) or serge them together all the way around the top waist.
• Add your elastic and you're done!
(more detailed instructions in the original tutorial)
If you have a little label, throw it on the back.
Also...some of you have asked "how do you keep your sewn line so straight on the elastic? Mine looks wonky in spots..."
Yep. Mine too!
Just do your best. No one will notice when they're looking at how cute the skirt is on your babe.
Then make about 6 more skirts so you have gifts on-hand.
Then pair it with a little onesie, plain or decorated.
And dress it up with a sweater and tights and for church.
This cute business is exhausting.
(ps, these photos were taken a few months ago when Clara was 2 months old. I can't believe how much she's changed! 5 months old now. Time for a new month-by-month comparison).

Tuesday, July 24, 2012

TUTORIAL: Sand and Plaster Beach Molds

I've been wanting to do this for years. But as every summer rolled around and we visited the beach with our family, I'd forget to bring the supplies. Doh.
So this year I was determined to make it happen.
We did!
And it even morphed from simply molding my kids hands to other beach-y objects....like this:
to this!
And we drove home to Texas with real beach momentos to decorate our house. I love how the glasses almost looked brushed in gold.It was all thanks to the special ingredient, Plaster of Paris:
and the sand of course.
I sort of remember using Plaster of Paris back in the day (probably for a Girl Scout project) but I couldn't remember quite how it worked.
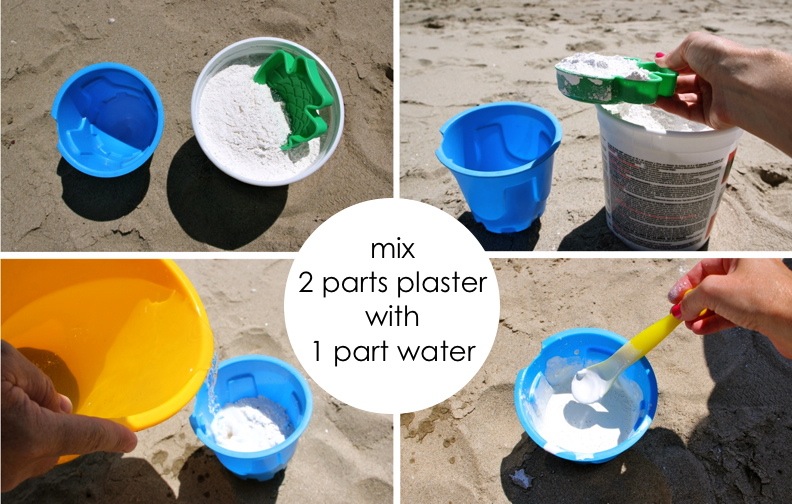
Mix plaster and water?
Oh yea. Now I remember.
EASY.

You just need a mold to pour the wet plaster into. And damp beach sand makes the perfect spot, though you can also use your sandbox or even clay to create your mold.
Now aside from the process being easy...I will say that it's also pretty messy (but hey you're at the beach). And we also lost a few finished products because some fingers broke off or the tide washed them away.
Exhibit A, Lucy's sad broken hand:
So watch where you create your molds if the tide is coming in. And transport the finished items carefully.

Okay, here are the simple steps:
• You can buy Plaster of Paris at Michaels and other craft stores for about $7
• You don't need a proper measuring cup, just use whatever you have on hand...toys, drinking cups, etc.
• Saltwater from the ocean works just fine.
• Work in small batches till you find the proper consistency.
• You don't want the plaster to be too thin and milky or it will seep into the sand. However if it's too thick, it will dry faster than you can pour it. Mix it till it's like a milkshake.

Next....
• You definitely need wet sand to create a mold but you don't want it so hard that a child won't be able to create a hand imprint. The best sand is right above where the tide breaks.
• Loosen up the sand a bit with you hands and smooth it out. Then help your child press their hand or foot or face?? into the sand and carefully pull it back up so the mold is as precise as possible.
• Work quickly to pour the plaster into the mold. Try not to leak any plaster outside of the mold.

When the mold has dried for only 5 or 10 minutes, use a feather or stick (whatever is around) to inscribe your child's name and the date on the back. You could make this an annual tradition, capturing your child's growing hand from year to year. The plaster molds make cool artwork for you home or beach house. Or give one to a Grandparent for Christmas. Make paper weights. Shadow box art? There are many possibilities.
While the plaster dries, enjoy the other beach amenities.
Then after about 30-40 mins, the plaster molds should be finished!

• Wash the molds off in the ocean and admire your amazing art.
• Place them in a safe place near your other belongings. You may want to bring a cookie sheet or pie pan with a towel inside to transport the finished molds. This will prevent them from getting stepped on and they can continue drying.
• When you're home, you can remove excess sand with an old toothbrush or cleaning brush. Just work carefully to avoiding breaking any plaster and don't brush off all the sand. That's the charm!

And there you go.
From glasses to beach art.
(btw, glasses are from Forever 21. $1.80 regular price. What tha what?)

Then find a cool place for your souvenirs, on or off the shelf.

Thursday, July 12, 2012

see you TONIGHT

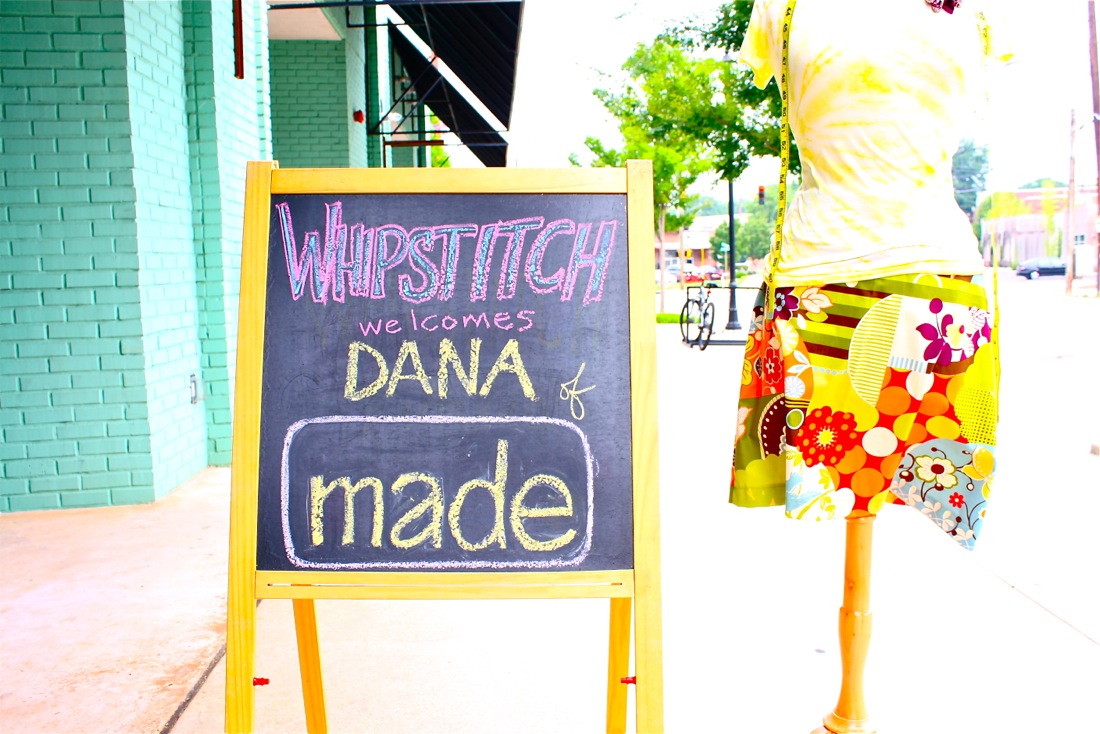
We made it to Atlanta and I'm looking forward to the book signing tonight at Whipstitch Fabrics!
Come hang out with us!
Even if you don't have a book, you always need fabric....right?


Fabrics A to Z Book Signing
Thurs 6/12, 6:30-9:30pm
Whipstitch Fabrics
1000 Marietta St, #102
404-897-1114
See you soon!