


Welcome to the next version of KID Shorts....Racer Shorts.
This post is one of many tutorials that accompany the KID Shorts PATTERN, which you can purchase HERE.

If you’re using a different pattern, or if you’ve created your own pattern, follow along with the instructions and make shorts with us!
So far we've tried:
Basic Shorts
Flat Front Shorts
Now it's time to get a little retro.
I love these funny shorts with a racer stripe down the side because they add the perfect pop of color and contrast. And it's just one more excuse to use.....yep! Bias Tape. We're gonna bind all the edges with it. And my love affair with 1/2 inch wide continues.


You'll notice on the pattern the curved lined marked "Racer shorts".
• Cut your pattern along the appropriate size, along the curved racer lines.
• You'll notice that the pattern hemline for Racer shorts is about 1 1/2 inches shorter than the standard hemline for each size. This is because we will not hem the racer shorts, rather they will be bound with bias tape (which we'll talk about more in a moment).

Following the same instructions for cutting your pattern pieces as we used for Basic Shorts and Flat Front Shorts:
• Fold the fabric in half (TIP: fold it with Right sides of the fabric together so your pieces are ready to sew!)
• Lay your pattern pieces on the fabric with the grainline parallel to the selvage.
• Cut. You should end up with 2 mirror images of the Front and Back 


It's all that cute colorful stuff down there.....


If you'd like to make your own Bias tape, read all about that here as well.
Bias tape is my favorite sewing trim/do-dad/embellishment/binding/whatever you want to call it. You can easily make your own or you can buy cute solid colors at most fabric stores.
One package (3 yards) or less of bias tape will trim out any pair of Racer shorts (see the pattern for exact bias tape amounts)

Start by sewing your shorts as we did in the Basic and Flat Front tutorials:
• With right sides together, sew the Front crotch seam, then sew the Back crotch seams.
• Iron out your seams
• With right sides together, sew the Front and Back together at the inseams.

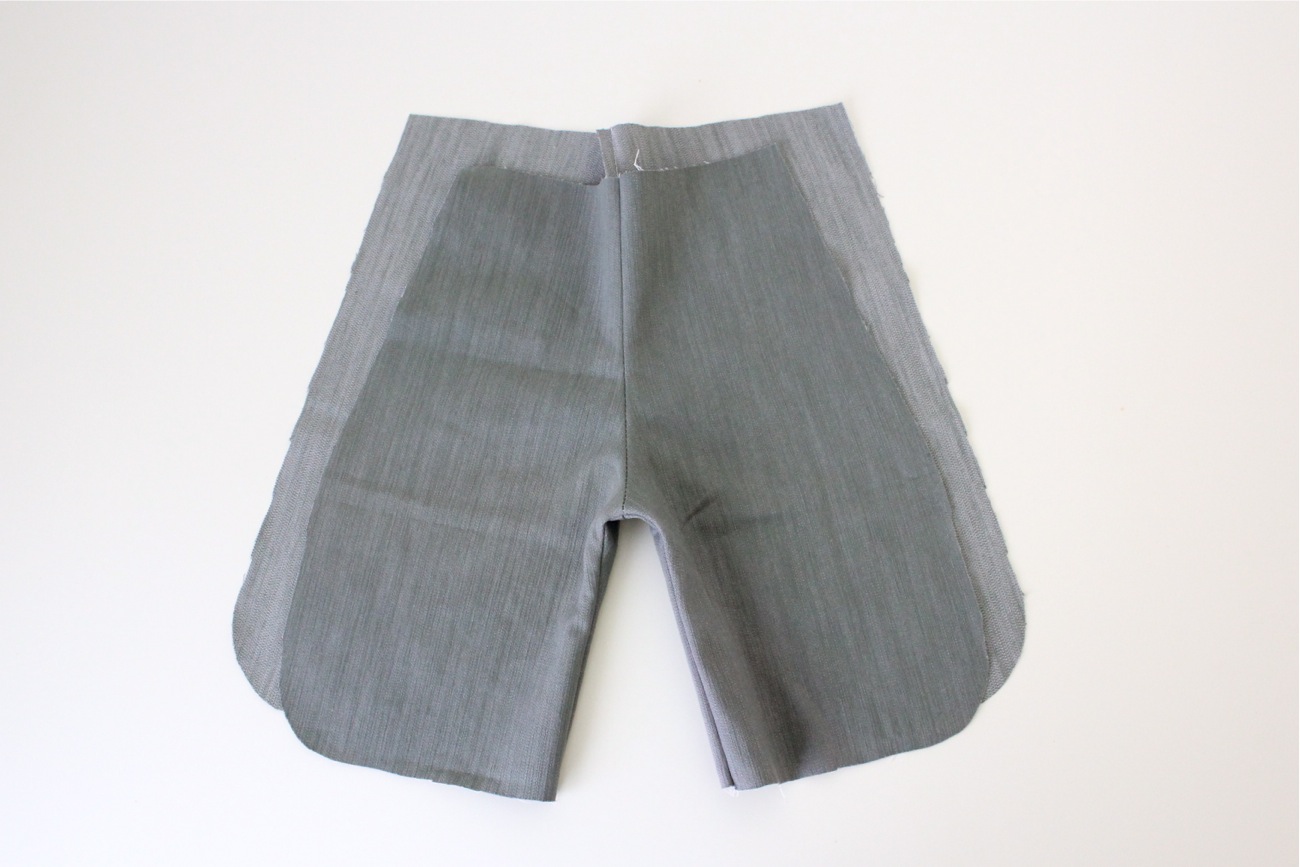
The photo below shows one shorts leg, laid open flat. We're going to bind the bias tape all the way down the Front sideseam, around the bottom hemline of the shorts, and up the Back sideseam, for just a few inches. Let me show you in more detail....

First, it's important to note that the top side of the bias tape is slightly more narrow than the back side. So when you sew this top/narrow side to the top of your fabric, it ensures that the thread will sew all the way to the back side without any gaps. So....


Now, sew the bias tape in place. Sew about 1/8 inch from the bias tape edge and remove each pin as you sew. This helps from getting unwanted tucks in the bias tape.

Sew that bias tape in place.
And your shorts should look like this:


Finally, sew down the side seam.


Finish off the waistband as outlined in the Basic Shorts of Flat Front Shorts.


Time for a treat. 
Enjoy your afternoon!

To purchase the KID Shorts pattern simply click the button below (you can read all the pattern details HERE.)
KID Shorts PDF Pattern - $6


No comments:
Post a Comment