

Really?
A cat?
Does it get more cliche or ((boring?)) or blah blah blah?
I guess every girl wants to be a cat at some point in her life?....
But then I realized how ridiculous I was being, because Clara LOVES cats. They're her absolute favorite animal and she sleeps with 3 stuffed kitties every night.

So of course she should be a cat!
And how stinking cute would a Clara Cat look?
AND....what if we made it a leopard cat?
Okay.
I was totally on board.


Just having an excuse to buy leopard knit spandex made me happy.
And guess what?? There are some great choices at Girl Charlie. Can you imagine a whole "family" of little girls in different leopard prints?!
Clara and I picked our favorite---pink, peach, + black.
Ahhh! So cute!

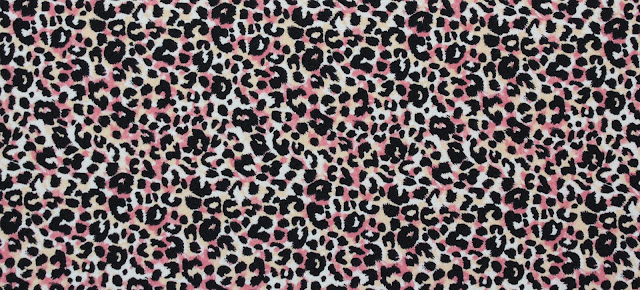
So I tried to keep it simple and let the fabric be the star of the show.
I used three of my video tutorials for this ensemble:
• How to make a T-shirt
• How to make a Pair of Leggings
• How to make a Knit Headband
SHIRT + LEGGINGS
I took a pair of leggings that Clara already had to create a pattern for a new pair of leggings.
Then I sewed a t-shirt using the same method (from the video above and THIS tutorial)
Because I mean....a whole out outfit out that same fabric? Too much. In a good kitty cat way.

TAIL
(refer to the images below):
• Cut a long strip of fabric and fold it in half lengthwise.
• Sew down one side and then curve your stitch around the bottom, so the bottom of the tail is round. Do NOT sew the top closed.
• Use your finger to turn the whole thing right side out.
• Tuck the open ends under and sew a small piece of velcro to the top.
• Sew the other piece of velcro to the middle back waistband of the leggings, so you can remove the tail, if needed. I knew the tail would bother her at school, while sitting down, so this was really helpful and easy to do.


EARS
• Begin making a headband as outlined in the video above, but don't sew the ends closed.
• For the ears, refer to my shape below. I drew a small pattern piece and cut out two pieces from gray felt, "on the fold", so they were symmetrical on each side.
• With wrong sides of the fabric together, sew the felt onto a piece of the leopard fabric and trim the edges when you're done. Now you have two ear pieces with felt on one side, leopard on the other.

• Take the first ear and bring the two "corners" into so they create an ear shape.
• Use a needle and thread to hand sew the ends together and then sew the first ear onto the headband. Sew enough stitches to secure it in place.
• Space the other ear a few inches down (it's best to try it on their head to see how the spacing looks) and hand sew the second ear in place as well.
• Fold the edges of one of the headband ends under, and tuck the other end inside. Sew the headband closed with a topstitch.

One pretty kitty.

Who also needs a nap.
...on dirty gravel.
Thanks mom.
Happy sewing friends!


No comments:
Post a Comment