
 It's nice and heavy-weight, the perfect size for all my stuff, annnnd......
 It's reversible!
 Yay!
Yay! It's good to have options.
Here are the TOTE bag versions we've tried so far....


This time around we'll make it:
• reversible (similar to having a lining)
• color-blocked on the outside with heavy Duck Cloth (read more about duck cloth and other fabrics in my book)
• DIY handles
 Summer, Summer, Summer time.
 Let's get started.
If you've never made a bag before, read through the Basic Pocket Tote Tutorial first.
Start by cutting all your bag pieces. We're using Duck Cloth which is like a heavy canvas. It's very durable and typically comes in solid colors (though I've seen some fun prints at Hobby Lobby). Of course you can use other cotton fabrics as well.
 The reversible bag is basically two separate bags, sewn together at the top. If you don't care about the reversible option, use a more lightweight fabric (maybe a cute print) for one of the bags and it will simply be a lining.
Decide what size you'd like for your bag.
Here are the dimensions I went with:
Cut 4 of each (2 per bag; different colors for each bag):
12 x 18 inches (bag front and back)
6 x 18 inches (bottom for bag front and back)
2.5 x 25 inches (handles)
 Start by sewing the handles.
There are two ways to do this....
 If you're using lightweight fabrics, place right sides of the fabric together and sew down each side. Then use a safety pin or bodkin to pull the long tube-like handle right-side out. Iron out the wrinkled handle.
However, with heavy duck cloth it's very difficult to pull the fabric right-side out.
So.....
 • Sew down one side with a 1/4 inch seam allowance.
• Iron out the seam
• Iron the raw edges of each handle side under 1/2 inch
• Fold the handle together and sew a top stitch down each side, about 1/8 inches from the edge.
Now piece together the back fronts and backs....
 • With right sides of the fabric together, place the smaller rectangle on the larger rectangle and sew them together with a 1/4 inch seam allowance.
• Iron out the seam
• Top stitch over the seam for added strength and to help it lay flat.
Now your bag pieces are ready to assemble.
With right sides of the fabric together, sew each bag together (separately, like you're making two bags. For more info see the Basic Tote tutorial).
 Then Box out the bottom of each bag, about 2 1/2 inches in on each side.
 See detailed info in THIS tutorial.

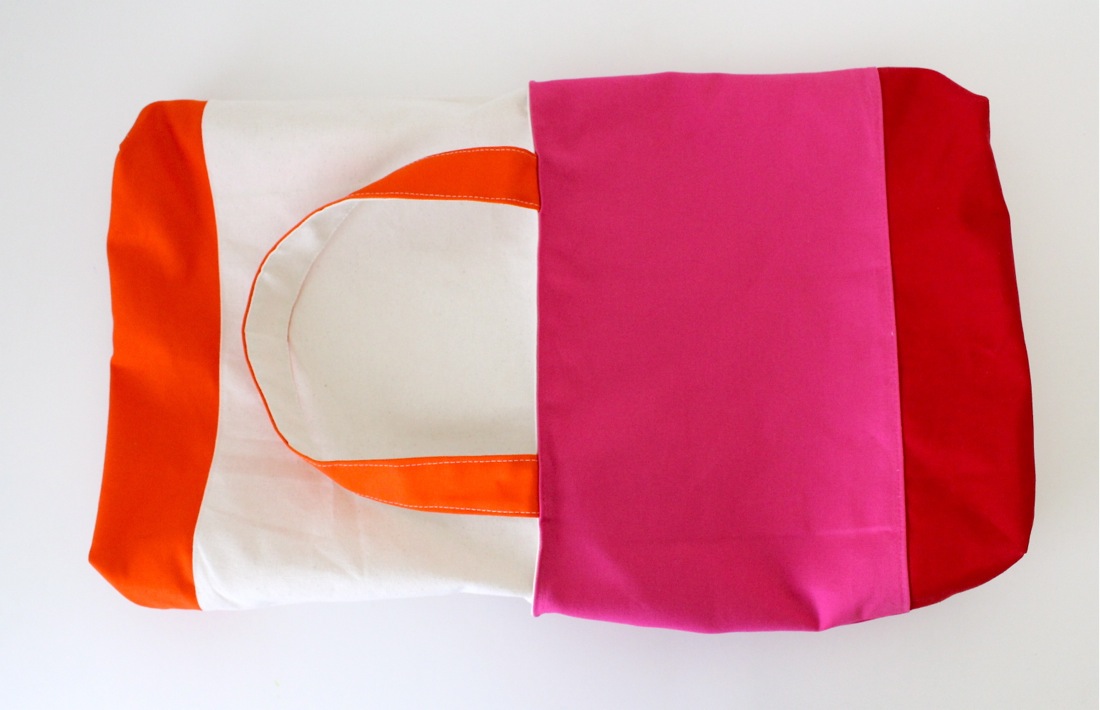
 And you're left with two cool looking bags.
You could leave them separate, throw on the handles, and give them away as gifts.
But attaching them together does makes your bag more polished, professional looking, and heavy duty.
 Turn one of the bags inside out and place it inside of the other bag:
 • Determine where the handles should go (mine are about 3 inches in from the sides). Then tuck the ends of each handle in-between the two bag layers, with about 2 inches of handle dangling inside. You may need to remove a few of the pins from above to do this.
 • Sew a topstitch all the way around, about 1/4 inch from the top of the bag. Sew another parallel line next to it, 1/8 inch over for stronger hold.
 And you're done!
 Now give your tote a whirl.
 I'm sure it loves the lake as much as the next girl.

No comments:
Post a Comment