Can you believe Mother's Day is just around the corner? I can never keep up with the holidays. But this month I'm trying! So let's get the ideas flowing and let's
Celebrate MOM! This is a series I hosted a few years ago with Disney of
Ruffles and Stuff and throughout this week (and maybe part of next) I'll share simple Mom-gift projects with you (it might not be every day but I'll try).
The first Mom gift that comes to my mind is a tote bag....maybe because I never tire of making them or browsing the bag aisle at
Target. I've shared a series of tote projects in the past, starting with the
Basic Pocket Tote (click a button below for details):


So let's add another twist. Let's make bags from dishtowels and cloth napkins! (because I also can't resist the kitchen aisle at Target as well).
Now of course you can always use fabric to make these tote bags but the cool thing about using dishtowels and cloth napkins are:
A. Freaking cute fabric options. I mean,
Orla Kiely
dishtowels?! YES. The towels look darling with the 5 Orla Kiely soap
dispensers I gobbled up too. Actually....how about gifting the bag WITH a
soap dispenser inside? Done.
B. You don't have to finish of any of the edges. Everything looks fancy shmancy inside like you're the professional that you are.
C. Why not? It's just easy.
So grab whatever towels and napkins you can find in your cupboards, the store, or even the thrift shop and let's get sewing. We'll follow the detailed instructions from the
Basic Tote and
Boxed Out Tote tutorials. If you've never made a bag please read through those tutorials first.
Okay. Use whatever your towel has to offer when making your bag. If you want a large tote, sew two towels together. If you want pockets, use fabric from another towel (if they come in a set) or grab fabric scraps, etc.
For this bag I folded the towel in half (right sides of the fabric together) and sewed down one side and the bottom. Sew just to the left of the finished towel edges for a nice clean look and so your machine doesn't have to work as hard.
OPTION: you could also choose to the sew with the wrong sides of the
fabric together and sew right on to the outside of the bag, with the
finished seams poking out. Could be cute.
But NOTE: store-bought towels and napkins are not always perfect and symmetrical so outside seams don't work unless the edges line-up fairly well.
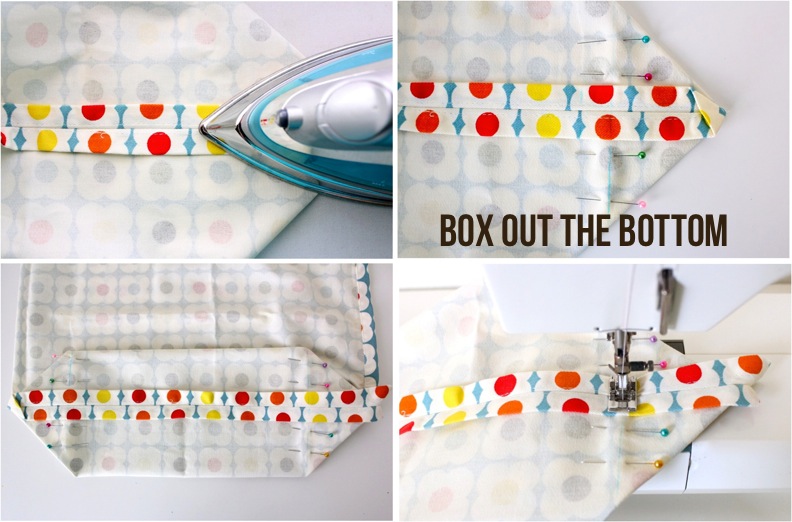
Follow the
Boxed-Out tutorial for boxing out the bottom of your tote if that's what you're going for. Or just leave it as is!
When I finished sewing the sides and boxing the bottom, the tote was still a bit long, so I folded the top over a good three inches, sewed a chunky top hem, and attached the straps (according to the
Basic Tote tutorial)
Simple, cute dishtowel tote:
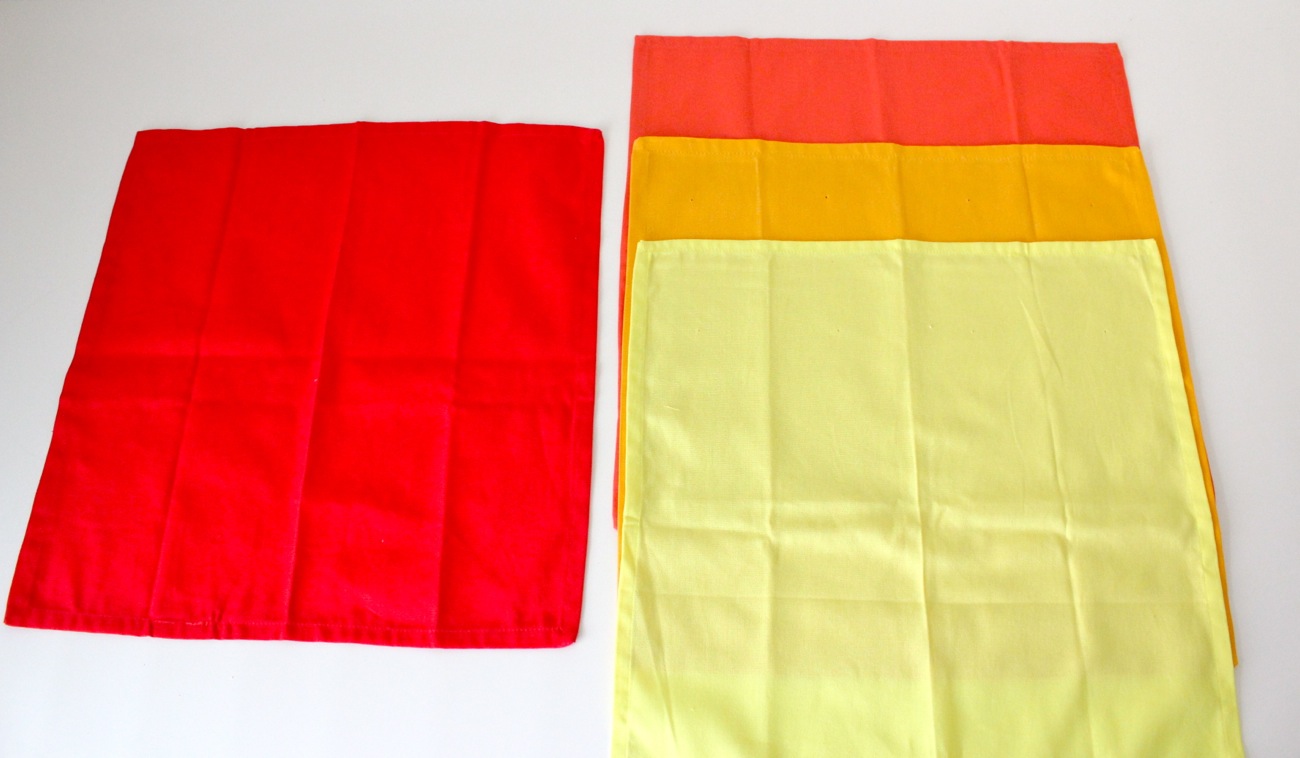
Now let's try napkins. Is there any wonder how these ended up in my cart? There was a blue/turquoise ombre set too.
But I resisted.
(Pat on the back from Casey.)
Cloth napkins are great because typically they come in a set of 2-4 so you can use them to create fun pocket layers in your tote. Tons 'o options.
I laid these napkins out many different ways trying to visualize the best tote...and asked Casey for his input too.....and wondered if I should do a big pocket on front and a big pocket on back?
And I finally decided to keep the ombre gradient and sewed three napkins together for the bag front and used a single layer for the back. And it was perfect!
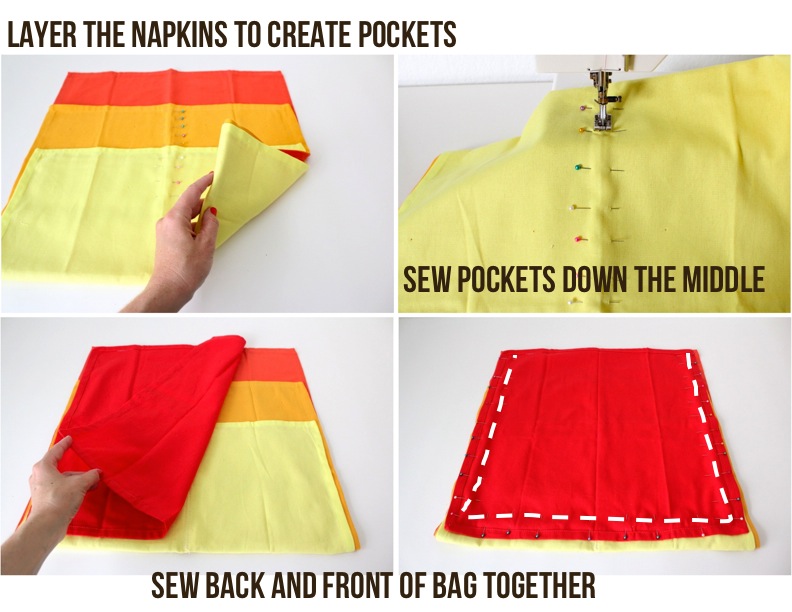
So. Layer the napkins and fold the excess under the base layer to the back side (this means you'll have some pockets on the inside of the bag too!) Pin all the layers together down the middle of the bag, or wherever you'd like the pockets to be. You could break it into 3 front pockets or 1 big pocket on the yellow layer and 2 pockets on the orange. Just decide what you want and sew in layers if needed.
For this bag, I used the folded crease that ran right down the middle as my guide (iron your towels down the middle if needed). I pinned all the layers together making sure the back layers we're pinned as well, then started at the top of the orange pocket and sewed right down the middle to the bottom of the yellow napkin.
Then I laid the red layer over the top (with right sides of the fabric together) and sewed around the two sides and the bottom, sewing on the inside of the finished napkin edges for less bulky sewing.
Now because you have so many layers sewn together, you inside seams are going to be a bit bulky and it will be harder to push the corners out. But. I actually kind of like that. It gives some weight to the bag and it keep shape nicely.
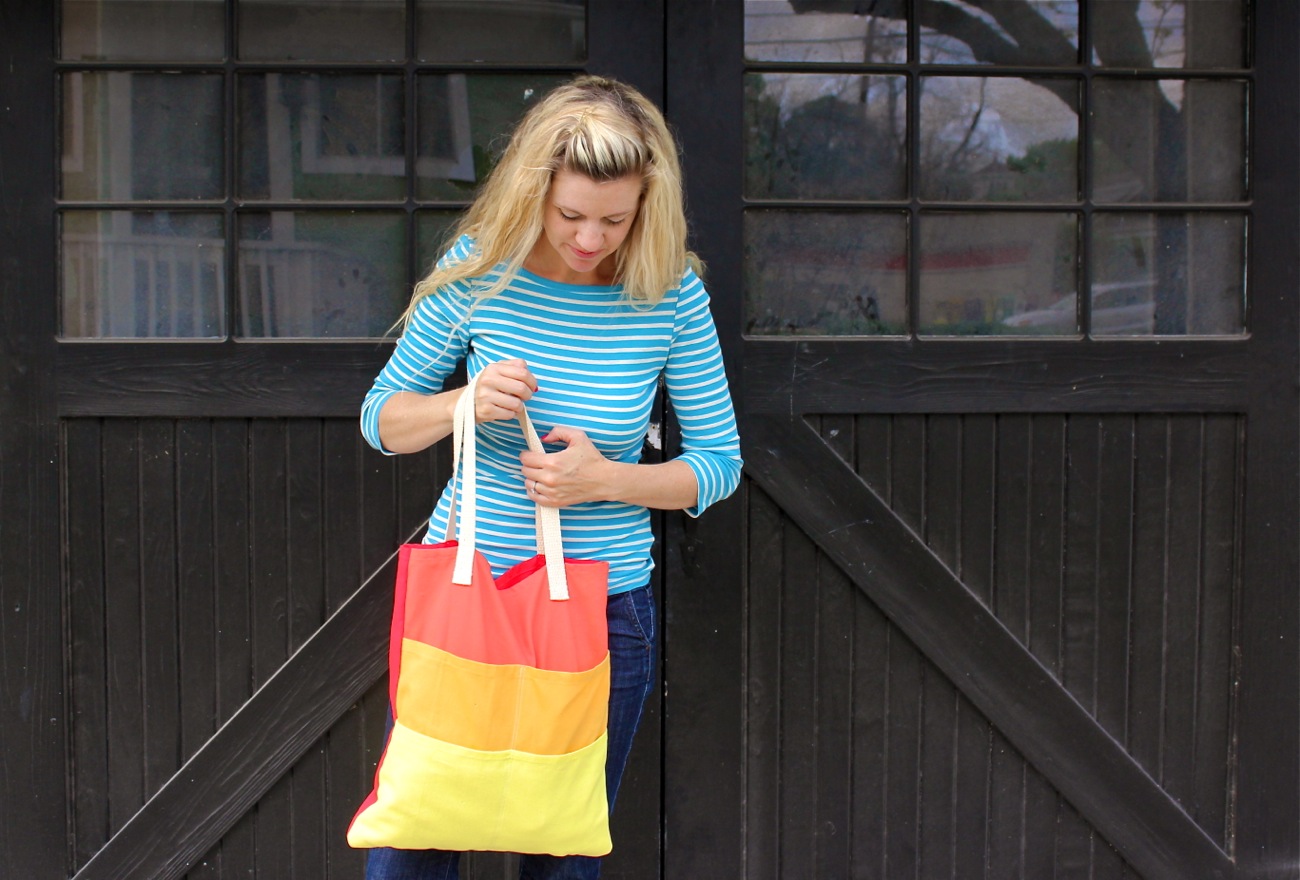
There you go! Ombre napkin tote with lots of pockets.
My kind of bag!
To give as a gift, fill it with her favorite magazine, candy, lotion, or favorite yummy treat.
And you've got a happy mom!
...and little bumble bee.
Thanks for joining the shoot little dude.

Come back during the week for more
Celebrate MOM tutorials!


 Come back during the week for more Celebrate MOM tutorials!

No comments:
Post a Comment